Sourdough Starter for Beginners: Everything You Need to Know
In this sourdough starter for beginners guide, you will learn everything you need to know about starting and maintaining a healthy starter. With a little bit of time and patience you will be on your sourdough baking journey in no time! I have all of my sourdough recipes here, and always working on more, so stay tuned and be sure to subscribe to my email list for new sourdough recipes that come out weekly!

THIS POST CONTAINS AFFILIATE LINKS, WHICH MEANS I MAKE A SMALL COMMISSION AT NO EXTRA COST TO YOU. SEE MY FULL AFFILIATE LINK DISCLOSURE HERE.
What is a sourdough starter?
First things first, lets start with the definition of sourdough starter, “A sourdough starter is a mixture of flour and water that has been colonized with wild yeasts and bacteria, forming a natural leavening agent for bread baking. It’s a living culture that requires regular feeding with flour and water to maintain its activity.”
When I first started getting into sourdough, I got very confused because I thought I needed to buy a sourdough starter to start, until I did more research. Turns out, all you need to start your own sourdough starter is some flour, water, and a little bit of time. You can also skip the steps of making your own by buying a sourdough starter from someone who sells dried sourdough starter, or ask a family member or friend for some of theirs!
If you buy sourdough starter from someone else, chances are they will have instructions on how to bring the starter back to life to be able to start baking with! If you are looking to start your own, well, you’ve came to the right place. Below, I have the most basic way I’ve learned to start a sourdough starter and maintain it, and now I’m here to share it with you!
How long will it take?
It typically takes about 7 days for the starter to be completed and ready to use. However, don’t be surprised if it takes a couple more days – factors like the temperature of the environment can all play a role in this.
How do I know when my sourdough starter is ready?
You may have heard of the float test, this is the most common way that people test to see if the starter is ready. All you have to do is fill a small bowl with water, take a spoonful of fed and active starter and drop it in the bowl of water. If it floats your starter is ready, but if it sinks it may need a few more feedings to be ready.
What does it mean to “feed” your sourdough starter?
When people say “feed” your sourdough starter, they mean adding fresh flour and water to it to keep the natural yeast and bacteria alive and active. Essentially you are feeding it to keep it alive and thriving.
Usually, a basic feeding looks like:
Discarding some of the old starter (hence where discard recipes come into play).
Adding equal weights of fresh flour and water and mixing together.
Then, adding the fresh flour and water mixture into your starter jar.
Mix in the new mixture with the old mixture, and you’ve now fed your starter, as simple as that!
** If this is still confusing, don’t worry, we will get more detailed into this later in the post **
What is sourdough discard?
By definition, sourdough discard is, “The portion of sourdough starter that you remove before feeding it with fresh flour and water.”
It’s called “discard” because, traditionally, you would throw it away — but lots of people now save and use it in recipes like scones, muffins, crackers, and more.
In summary:
- It’s still alive but not active enough for bread on its own.
- It helps keep your starter at a manageable size and healthy.
- You can either toss it or bake/cook with it! I have a lot of discard recipes for you to checkout!
What kind of flour do you use?
I personally only use unbleached all purpose flour – I switch from the King Arthur brand and Bob’s Red Mill.
Some people use wheat or rye flour to get their starter started and use unbleached all purpose to feed and maintain, but to keep in simple, I have always just used unbleached all purpose and it’s always worked for me!
With that being said, for this recipe we will stick with the all purpose.
What kind of water do you use?
Most of the sourdough gurus will say to use dechlorinated tap water or filtered water. This is because water with enough chlorine could kill the wild yeast in the starter.
However, I have only ever used spring water and it has always worked well for me. So I say use what works best for you as long as there is no chlorine.
How to use a kitchen scale
I want to explain how to use your kitchen scale. I know not everyone has used one before and I’ve had lots of questions on how to use it, so just want to clarify that here:
- Turn on your kitchen scale.
- Set a bowl (or jar) onto the scale.
- You’ll see a number pop up — that’s the weight of the empty bowl.
- Press the “tare” or “zero” button. The scale will reset back to 0.
- Now, start adding your ingredient (like flour or water) into the bowl.
- The number you see now is only the weight of the ingredient — not the bowl!
Basically, you zero out the bowl so the scale just focuses on the weight of the ingredients you’re putting into it.
The Process: 7 Days to Sourdough
You’ll need to take into consideration before starting that making sourdough starter from scratch is a 7 day (possibly longer) process, so it is important to set time aside each day for a successful sourdough starter. For experimentation purposes, I have definitely started a starter before and did not follow the guideline and my starter got moldy. Staying on top of the schedule/guideline below is important to the process!
Day 1
Start by setting a bowl on your scale, zero it and measure out 50 grams of flour and 50 grams of water.
Stir the two ingredients well, then transfer to your jar.
Cover your jar with a cheesecloth or sourdough starter cover cloth (whatever you have will work).

Day 2
Day 2, you will do nothing, but observe. You may see bubbles already, but if not, that’s okay too. Just be patient!
Days 3-5
** You’ll start your Day 3 process around the same time you started it on Day 1 **
- So if you started Day 1 at 9am, try to start Day 3-5 around 9am as well.
From the jar that you started in Day 1, measure out 50 grams (approximately half) of the starter. You will actually discard (throw in the trash) because it is not yet beneficial for discard recipes. For the following days 4 + 5, you will keep about 50 grams of starter in the jar each day, then feed.
Set a bowl on your scale, zero it and measure out 50 grams of flour and 50 grams of water. Mix together well.
Next, you will add in the fresh flour and water mixture to the remaining starter that was left in the jar. Give it a good stir, so that your starter and new mixture are well combined. (This is called feeding your starter)
Scrape down the sides of your jar, cover, and place back into its warm spot.
You will do this same exact process for days 3-5
Days 6 + 7
You will be doing the exact same process of discarding and adding in the fresh flour and water mixture, except for these two days you will be doing it twice a day.
For example: If you discard and feed at 9am, you will also discard and feed at 9pm before bed. Just do this for two days.
Day 8
By day 8, you should have a sourdough starter that is ready to use! If not, you can just keep feeding like you would in the Days 3-5 section, just once a day around the same time.
You can will know if your starter is ready by how it looks, it should be nice and bubbly, and doubled in size! You can also test it by the float test that was mentioned earlier in the post!
Congratulations! You did it! Now you’re ready to start all things sourdough, so exciting!! Below I’m going to leave some additional tips + FAQs to hopefully answer anymore questions you might have.
FAQs
How do you store sourdough starter?
If you plan to bake often, store your starter at room temperature. Depending how often you bake, feed it 1-2 times a day to keep it active and ready to use. If you plan to bake only once in a while, store it in the fridge to preserve its strength, feeding once a week. When storing your starter in the fridge, there’s no need to bring it to room temperature first before feeding it. Just give it some flour and water and place it back in the fridge.
There is a dark liquid in my starter is that normal?
The dark liquid that sometimes forms on top of a sourdough starter is called hooch. Hooch is a natural alcohol that the wild yeast produces when it’s hungry and hasn’t been fed in a while. (Perfectly normal for starters that have been tucked away in the fridge for a while).
It’s completely normal and just means your starter needs a feeding!
The hooch might look clear, gray, brown, or even black depending on how long it’s been sitting. When discovering your starter has hooch, you have two options, you can either:
- Pour it off before feeding (especially if it smells very strong), or
- Stir it back in if you want a stronger sour flavor.
Hooch is a sign that your starter is still alive — it just needs some fresh flour and water to perk back up! Still very safe to consume, so no worries there!
How do I know if my starter has gone bad, or is unsafe to use?
A sourdough starter has gone bad or is unsafe to use if you notice:
- Pink, orange, or red streaks or tints — bad bacteria has taken over.
- Fuzzy mold — white, green, blue, or black fuzzy spots mean mold, and the starter must be thrown away.
- A strong rotten, or “off” smell — not just tangy or sour, but truly awful (like rotten meat or chemicals).
- An extremely slimy, stringy texture — beyond just bubbly and stretchy.
If you see or smell any of these, it’s safest to discard the starter and start fresh.
Normal things that can happen, that doesn’t mean it’s gone bad:
- Grayish hooch (that’s just alcohol, not mold)
- Strong tangy, vinegar-like smell – it can also take on the smell of nail polish remover.
- Separation of liquid and starter
I also want to add that, it takes a lot to kill a healthy, well maintained starter. Just a fun and quick little story on just how resilient a sourdough starter can be:
My husband plays professional basketball all around the world, so the very first starter that I ever started moved with me from Mexico, to US, to Finland. Each time we moved I just put a tiny amount of my starter in a tiny salad dressing container and stored it in my diaper bag (in the insulated part) while traveling. Each time I forgot about it for a week or two in my diaper bag. And each time I was able to put it into a jar and feed it, and it was very much alive and healthy!
Can I use the sourdough discard from Day 1-7 to bake with?
I personally do not because it is not coming from an established starter, and the smell, taste and texture can be off. However, some people do to prevent waste, so basically whatever floats your boat! You won’t be able to use it is an active starter because it won’t be active or strong enough for baking bread, so keep that in mind.
Can I use any type of flour I want?
People use a variety of different flours for different reasons. In this recipe I only use unbleached all purpose. If you are looking for a recipe that calls for a different flour I would try to find it somewhere else. Each flour may need to use slightly different ratios of water to flour depending on the absorbency of the flour. The feeding schedule may also vary. For me personally, I’ve had the best experience with unbleached all purpose because it’s (in my opinion) the most straight forward. But never be afraid to experiment and find what works best for you!
Why does my starter have different smells?
Your starter will go through all types of different smells as it grows, becomes hungry, and gets fed. Below are some common smells and what they mean.
Alcohol: It’s hungry, give it a feed.
Fruit/nail polish remover: It’s hungry, give it a feed.
Musty: It’s probably new, and going through some enzymatic changes. Continue feeding as normal.
Yeasty: It’s ripe and well-fed, at the peak of its rise.
Milky/Yogurt-like: Your starter contains lactic acid, which lends flavor and some sourness.
Tangy/Sour: Your starter likely contains higher amounts of acetic acid, which is very tangy and makes for a more sour bread. If you want less sour bread, feed your starter more often and keep it out of the fridge for a few days before baking!
PrintSourdough Starter for Beginners: Everything You Need to Know

In this sourdough starter for beginners guide, you will learn everything you need to know about starting and maintaining a healthy starter. With a little bit of time and patience you will be on your sourdough baking journey in no time!
- Prep Time: 5
- Total Time: 8 Days
- Category: Sourdough Starter
Ingredients
Unbleached All-Purpose Flour
Filtered or Spring Water
Instructions
Day 1
-
Start by setting a bowl on your scale and measure out 50 grams of flour and 50 grams of water.
-
Stir the two ingredients well, then transfer to your jar.
-
Cover your jar with a cheesecloth or sourdough starter cover cloth (whatever you have will work).
-
Place in a warm spot in your kitchen, I typically keep mine near the oven.
Day 2
-
Day 2, you will do nothing, but observe. You may see bubbles already, but if not, that’s okay too. Just be patient!
Days 3-5
-
** You’ll start your Day 3 process around the same time you started it on Day 1 **
-
So if you started Day 1 at 9am, try to start Day 3-5 around 9am as well.
-
From the jar that you started in Day 1, measure out 50 grams (approximately half) of the starter. You will actually discard (throw in the trash) because it is not yet beneficial for discard recipes. For the following days 4 + 5, you will keep about 50 grams of starter in the jar each day, then feed.
-
Set a bowl on your scale, zero it and measure out 50 grams of flour and 50 grams of water. Mix together well.
-
Next, you will add in the fresh flour and water mixture to the remaining starter that was left in the jar. Give it a good stir, so that your starter and new mixture are well combined. (This is called feeding your starter)
-
Scrape down the sides of your jar, cover, and place back into its warm spot.
-
You will do this same exact process for days 3-5
Days 6 + 7
-
You will be doing the exact same process of discarding and adding in the fresh flour and water mixture, except for these two days you will be doing it twice a day.
-
For example: If you discard and feed at 9am, you will also discard and feed at 9pm before bed. Just do this for two days.
Day 8
-
By day 8, you should have a sourdough starter that is ready to use! If not, you can just keep feeding like you would in the Days 3-5 section, just once a day around the same time.
-
You can will know if your starter is ready by how it looks, it should be nice and bubbly, and doubled in size! You can also test it by the float test that was mentioned earlier in the post!
Notes
Using a rubber band helps you easily see how much your sourdough starter has grown. Here’s how:
- After you feed your starter, place a rubber band around the jar at the level where the starter reaches.
- As the starter ferments and rises, you can watch how far it grows above the rubber band.
- This makes it easy to tell when your starter has doubled (or even tripled), which is a sign it’s strong and ready to use!
The rubber band gives you a clear visual guide without having to guess or remember where it started.
Sourdough Recipes You’ll Love!
-
Sourdough Peaches and Cream Scones
This sourdough peaches and cream scone recipe is one of my favorite no‑fuss ways to use up extra sourdough discard. There’s no long fermentation, no complicated steps, and no planning ahead. It’s a simple recipe that gives you delicious scones with just enough sourdough flavor to make them interesting. If you’re swimming in discard and want…
-
How to Activate Dehydrated Sourdough Starter
If you’ve got a packet of dried sourdough starter—whether you bought it, were gifted it, or saved it as a backup—reactivating it is actually really simple. All you’re doing is feeding it flour and water until it wakes up and starts rising again. In this guide I’ll walk you through the exact feeding schedule I…
-
Sourdough Pumpkin Cream Cheese Muffins
Calling all pumpkin lovers, pumpkin season is officially here, and what better way to embrace the season than with a batch of warm, delicious pumpkin cream cheese muffins? These pumpkin muffins are bursting with pumpkin flavor and have the yummiest, sweet cream cheese filling. Not only are they easy to whip up, but the delicious…
-
Sourdough Pumpkin Crumble Cake Muffins
It’s pumpkin season, which means all things pumpkin until further notice! But seriously, fresh pumpkin and warm spices are my favorite fall flavors. And these Sourdough Pumpkin Crumble Cake Muffins are a great way to enter the fall season and use up all that extra sourdough discard! THIS POST CONTAINS AFFILIATE LINKS, WHICH MEANS I…
-
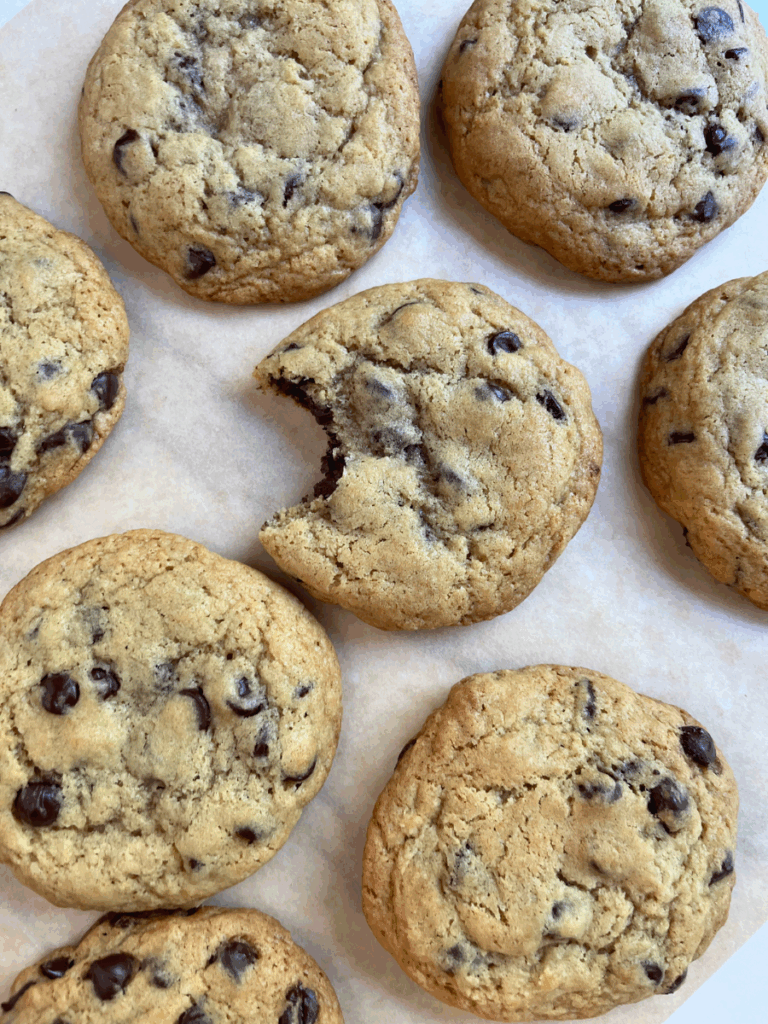
The Best Sourdough Chocolate Chip Cookies
There’s nothing quite like a warm chocolate chip cookie fresh out of the oven—but add a little sourdough starter, and you take them to a whole new level. These sourdough chocolate chip cookies are soft and chewy with golden edges, a rich buttery flavor, and just the right hint of tang from the starter. Not…